
For organists, it is usually difficult to get a lot of time to practice. Most organs are located in churches, which means that the organist doesn’t have many opportunities to go in and practice. This is a problem I have had ever since I’ve started playing, which really limited my ability to improve.
About a year ago, I read an article about how an organist built his own organ practice station for his house. It was made of two MIDI controller keyboards, and an organ pedalboard which was configured to send MIDI inputs to the computer. All of these devices were connected to a laptop running a software called GrandOrgue, which used real pipe organ samples to simulate the sound of the instrument without the need for expensive equipment. As soon as I saw this, I dreamed of having something similar, so that I could practice every day and really step-up my playing.
Getting Started: finding a pedalboard
The biggest hurdle in this entire project was the pedalboard. Finding an organ pedalboard is not easy and usually is very expensive. Additionally, many of the pedalboards being sold on the internet do not have the full 32-note range, which greatly restricts the repertoire that can be played. I asked my organ teacher, who connected me with an organ technician who sometimes kept old parts from organs that were being dissembled. The gentleman did not have a pedalboard at that time, but he told me that he would contact me in a few months when he was removing an old organ from a church that was under renovation. He didn’t even want to charge me for it, but my father and I discussed it and thought that we should pay the man for kindness and trouble, and we gave him $100. Which as far as pedalboards go is a pretty good deal!
Converting the pedalboard to a MIDI input device
The pedalboard had been removed from an actual pipe organ so it still had many of the old electronics attached. The first step in converting the pedalboard was to remove all of the old electronics that were on the underside of the pedalboard. After I had removed those and cleaned out the dust from in between the pedals. I attached felt furniture pads to the ends of the pedals so that they wouldn’t make much noise when pressed. Now I had a fully functional pedalboard, but it still needed to send MIDI signals. My dad and I researched how to do this ourselves. We considered ripping out the MIDI circuits from a MIDI keyboard and rewiring it to fit the (much larger) pedalboard, but this would have been very laborious and prone to something going wrong. The YouTube video that I had watched for inspiration had used a custom pedalboard conversion kit that was manufactured by a European company (midiboutique.com). It was expensive ($500), but my dad agreed to split the cost 50/50 with me if I saved up for my half. The conversion kit consisted of 32 separate reed switches, which sent a signal when they were exposed to a magnet. These reed switches were all wired to a circuit board, which converted these signals into a MIDI output that could be sent to the computer. We hot-glued each of these reed switches to the frame under the pedals. Each of the reed switches was set directly under a pedal. I then attached a magnet to the underside of the pedal, so that depressing the pedal would trigger the reed switch and send a signal to the MIDI processor board. The process took time, but the converted pedalboard worked great.
Building the Cabinet and Bench
The next step would be to get a desk and bench that were the correct height. I wasn’t able to find any affordable options online, so the only option left was to build my own. I measured the dimensions of the manuals and bench at the organ I practice on, and then designed the organ cabinet and bench on graph paper. The desk consisted of one large table, with a section under it that stuck out, leaving space for the lower manual. The bench was a similar width and length, but had a beam fixed under it for extra support. We decided to use poplar wood as a compromise between hardness/durability and cost (hardwood was too expensive), and the total cost of the lumber was around $125. We built it over the course of two weekends. To finish it nicely, we used wood putty to fill the holes left by the screws, sanded it finely, stained with danish oil, and coated with wax to give the desk and bench a smooth finish.
MIDI Manuals
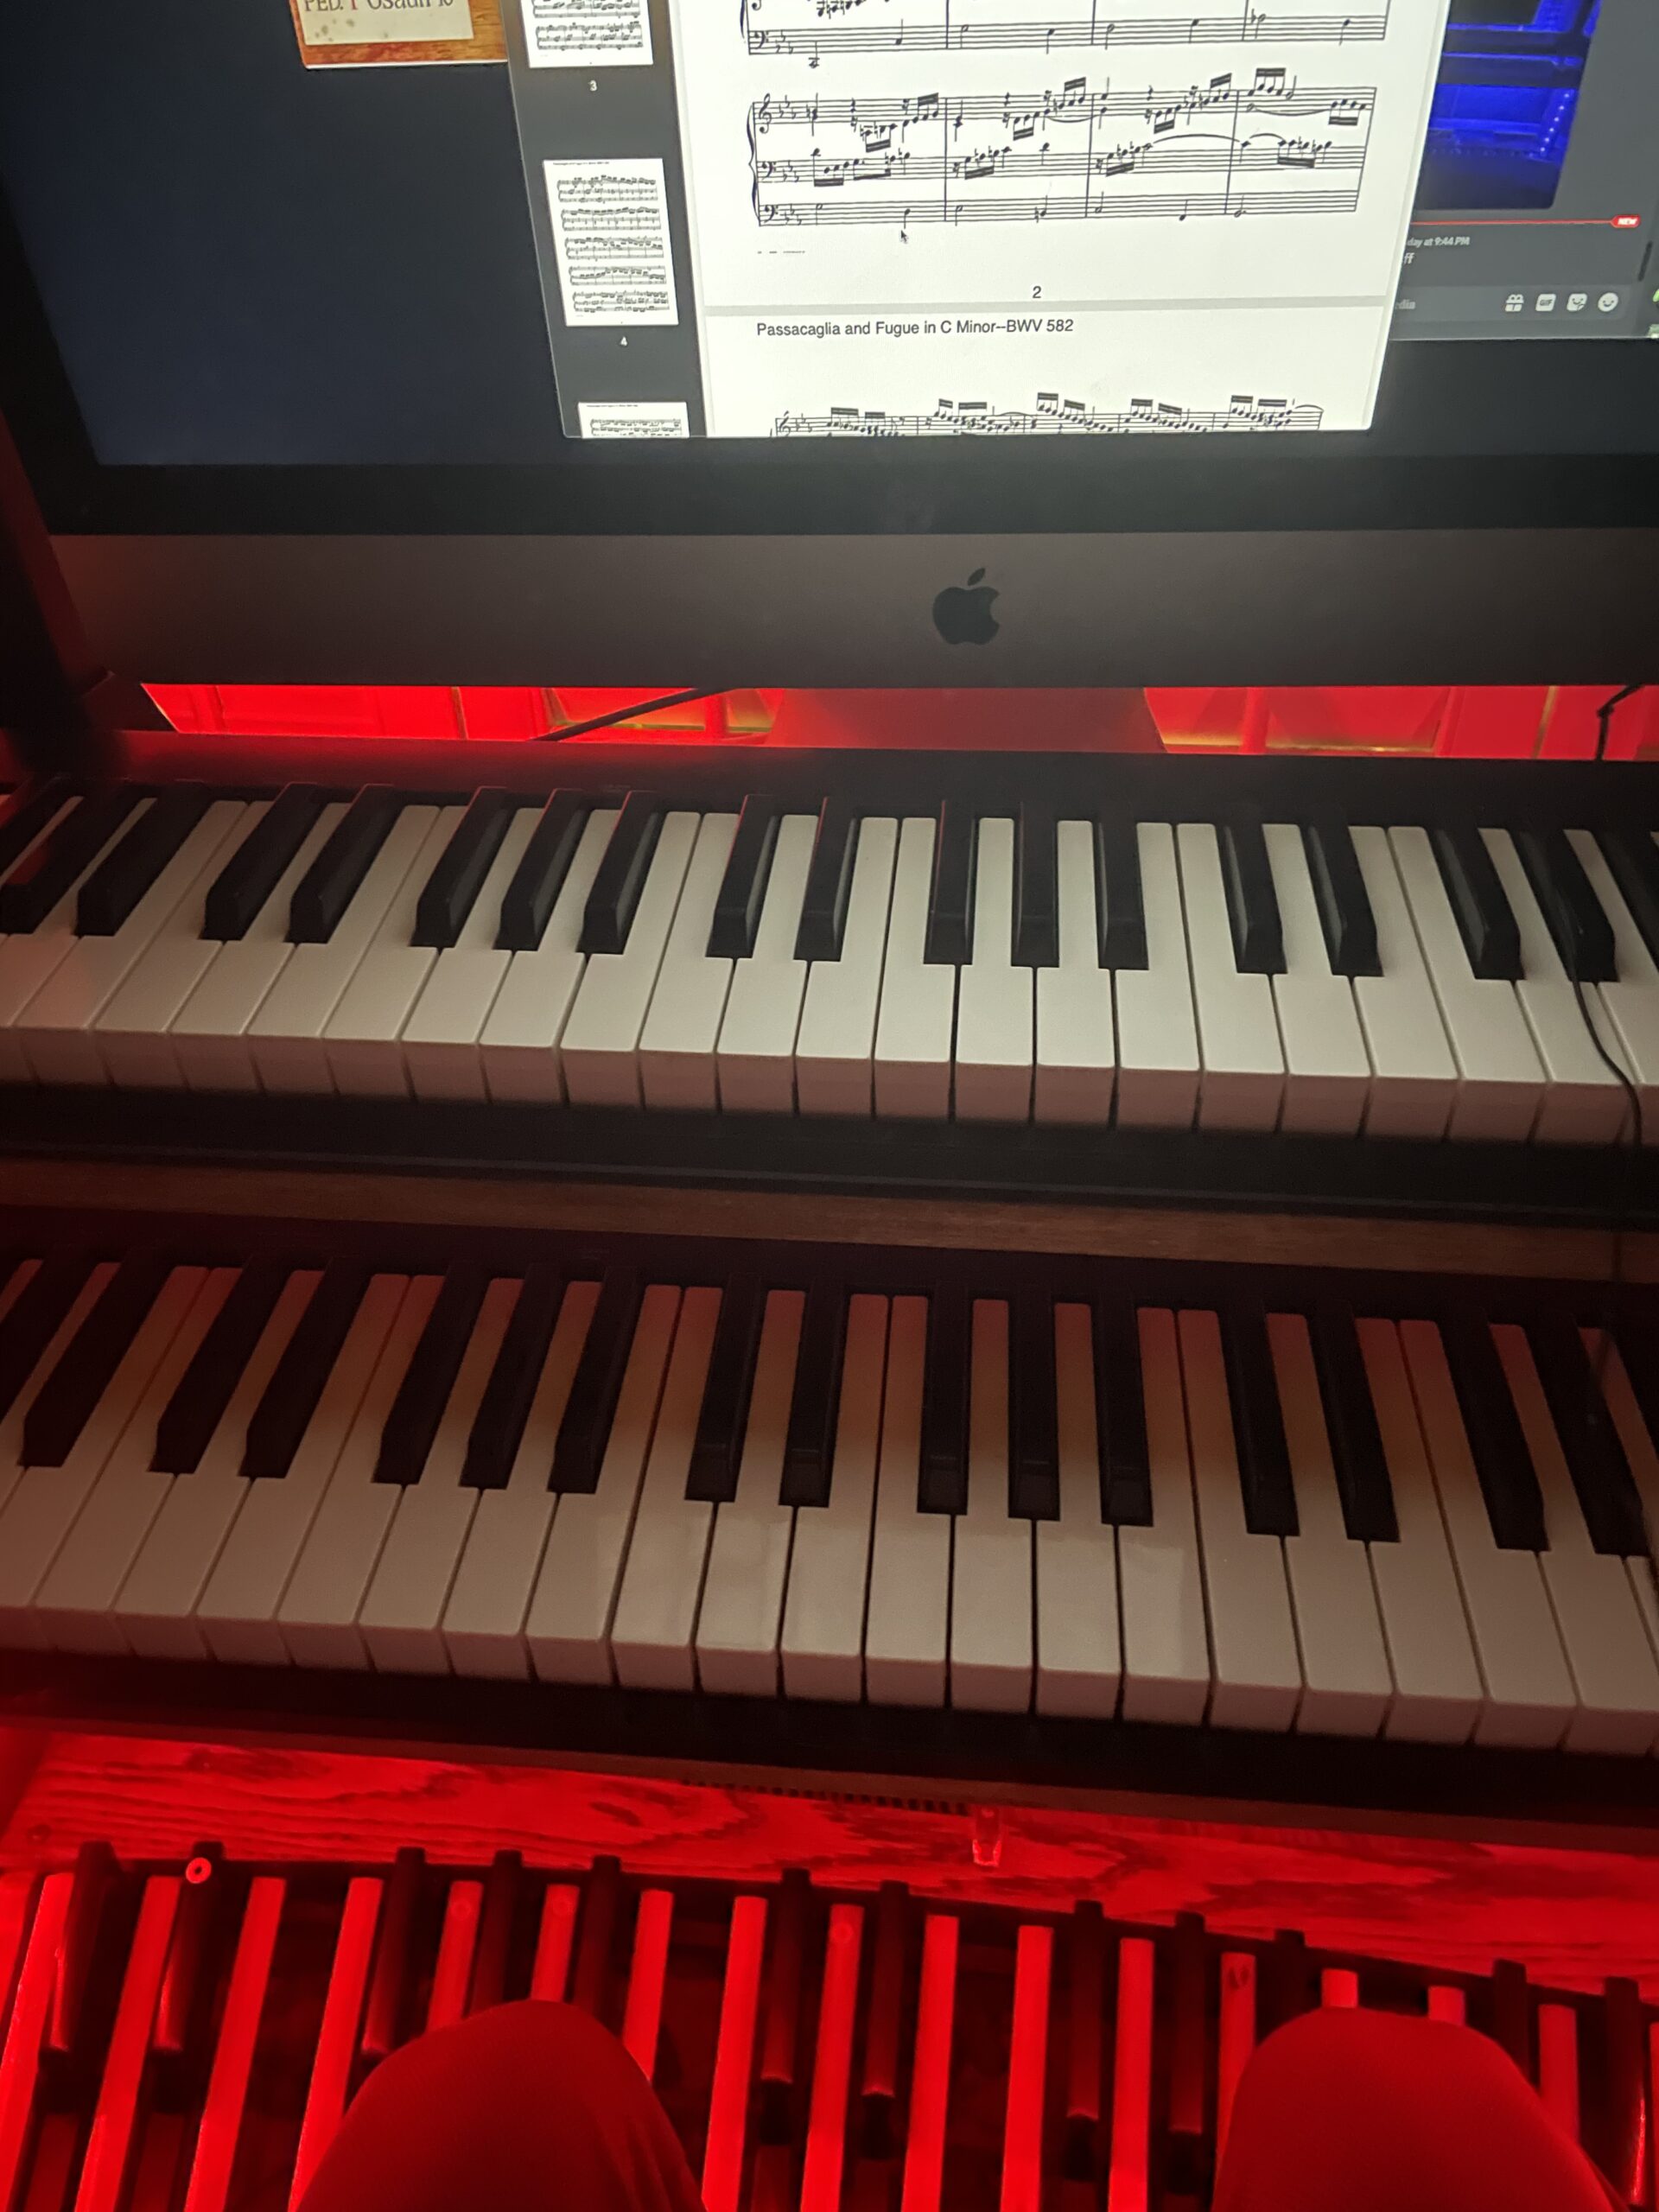
The final step was to find MIDI keyboards that I could use for the two manuals. I purchased two Nektar Impact GX 61-key midi keyboards, which cost just under $200 total. I chose these because they weren’t very thick, which allowed them to fit nicely on the desk. After I connected all of these to the desktop computer that I set up behind the keyboard, I had a fully functioning organ at my house!
GrandOrgue Setup
Fortunately, we had an old iMac computer that could be repurposed for the organ. We installed the GrandOrgue software, which is basically a free alternative to the popular Hauptwerk software. This software comes with a free organ sampleset, but I was able to find some others on Piotr Grabowski’s website. He offers many different organs from different countries, but fortunately, some of the samplesets are available for free.
Was it worth it?
This was a fun DIY project that I got to do with my dad. The total cost of the project was around $925, which includes the pedalboard ($100), MIDI conversion kit ($500), two new MIDI manuals ($200), and lumber ($125). We re-used an old iMac computer for this, which obviously cut down on the cost. The cost might’ve been less had we built our own MIDI conversion kit, but buying the custom kit did save time and headaches. Total time to build it was around a month. It provided the opportunity to do something fun with my dad. And ever since building it, I’ve been able to practice for hours every day — from the convenience of our own home, so my parents don’t have to drive me to the church so often. Definitely worth it!